Spear “Tips”
- Posted on
- By Jim “Chiefy” Mathie
- Posted in Scuba Tips
Let Force-E help you learn new "tips" and tricks to spearfishing.
Spearfishing has many different aspects to the sport with this blog focusing on a few extra spear “tips” to improve your game. We’re allowed to spear fish on Scuba in America unlike many other countries where they only allow freediving to harvest their catch.
There are specialty classes to help you learn how to spearfish, but it’s suggested you should feel very comfortable with your dive skills before you add another. Nitrox and Advanced are great additional certifications to build your confidence and experience before adding a speargun to your equipment.
Of course, you can always get my book, Catching the Spear-it! The ABC’s of Spearfishing, which covers everything about spearfishing in an easy to learn format.
Line-Reels-Free shaft
Most spearguns have a line attached to the spear shaft, allowing the fish to swim with the spear shaft after being shot, however, you’re able to get the fish and shaft back because of the limited length of the line.
Some spearguns allow the addition of a line reel, allowing the fish to swim further away. If you are spearfishing as a freediver, it’s imperative to have a line reel or a set up allowing the fish to break away while attached to a float system.
Spearfishing on Scuba can be done with a line without a reel or even set up just as a free shaft. Spearing fish without a line works great, less cumbersome, and quicker. It’s a great way to learn the most important feature of spearfishing which is ‘shot placement.’ Most fish will go in a hole in the wreck or reef after being shot, with free-shafting requiring getting that fish out of the hole to retrieve your spear shaft. Free shafting on Scuba is great for smaller fish but as you start to spear bigger fish, you’ll need a line attached to your spear shaft.
There are even some free shaft speargun setups where there’s a slip ring allowing you to add a line quickly when you see a larger fish. This set up gives you the best of both worlds.

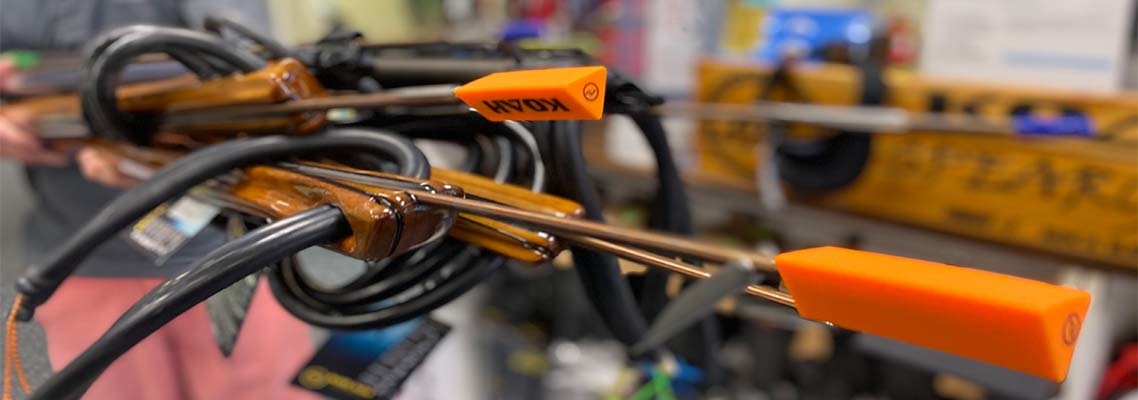
Spear Tips
With spear tips, it seems the simple approach is better for accuracy and staying in a fish. Most spear shafts today have just one flopper that will open after you hit the fish. If not, the shaft would slide out and the fish would swim away. Some spear shafts allow you to change tips with a screw at the end, allowing you to have an assortment of different spear tips.
Or in some cases, there are ‘slip tip’ designs that allow the tip to lodge into the fish and is held on to the end of the spear shaft with a cable or line. These work well for much larger fish and are extremely hard to remove when it’s lodged inside the fish. It’s a one-shot-one-fish spear tip primarily used by freedivers, the design is to help land the bigger fish.
Remember as you add more floppers or tip features, it effects the trajectory of your spear shaft. Keeping things simple with one flopper improves accuracy and it’s more important to make sure your spear tip (point) is sharp to allow easier penetration. There are probably as many spear tip designs as there are spearguns, and just like your speargun, it depends on your location and what your intended target is.
Be careful when your spear tip is on the boat, especially if you lay it down. Use a protective cover over the sharp point or it could end up in someone’s ankle or Buoyancy Compensator Device.
Floats and fish rings
After you spear your fish, you’ll need something to carry your fish or a float system to send your fish to the surface for the boat to retrieve. It’s imperative you “Secure your fish” to get it on the boat.
Fish rings come in an assortment of sizes and most will have the capability to use the spike at the opening to dispatch the fish. It’s probably more important to be able to open the ring with one hand as your other hand is busy holding the fish with the ‘death grip’ in their gills. Get a fish ring that’s big enough to hold a lot of fish or big fish but one that you can handle.
Toothless float system, available at Force-E Stores, has several floats with a fill hose that is quick and easy. You can make a similar system, but toothless float system has it all together. The east-coast toothless float system has the longer orange floats and ideal for our sometimes-wavy conditions.
Knifes
After you “Shoot the fish” it’s important to secure the fish as soon as you can. Having a wounded fish on the end of your spear shaft doesn’t help anyone so grab your fish and then dispatch it with a sharp knife to its brain. You’ll want a pointed end knife that’s stays sharp and easy to retrieve. Mine is on the inside of my right calf but a lot of divers have a knife on their opposite strength upper arm. The sheath should be an easy lock type and always be careful to not stick yourself with your very sharp knife.
Flashlight
A good flashlight is an important piece of equipment for any diver and imperative for the underwater hunter. It’s best to get the rechargeable, lightweight kind with a simple, easy to find on-off button to ensure one-hand to operate. Mine is in my left side as I’m right-handed and it’s in a retractable lanyard. It’s absolutely necessary to locate your flashlight by feel while my speargun is in my right hand looking inside holes for fish. Don’t make the mistake to not have your speargun pointed into the hole as you light up the hole with your flashlight. The fish will only give you a split second to decide if you’re going to pull the trigger.
These extra spear tips in this blog are designed to give you some additional information to help you bring home dinner. Use these tips responsibly to keep this sport the most sustainable way to harvest seafood.
